Step by Step Sourdough Bread
Crusty & Fragrant But Not Necessarily Sour!
This loaf is heavily based on the techniques outlined in Tartine Bread by Chad Robertson. It can turn out a little sour but the more often you bake and refresh your starter the less sour it is likely to be. I’ve been playing with it for years now and finally have a method that is not fussy and although it can take 24 hours or more from start to finish it is pretty hands-off.
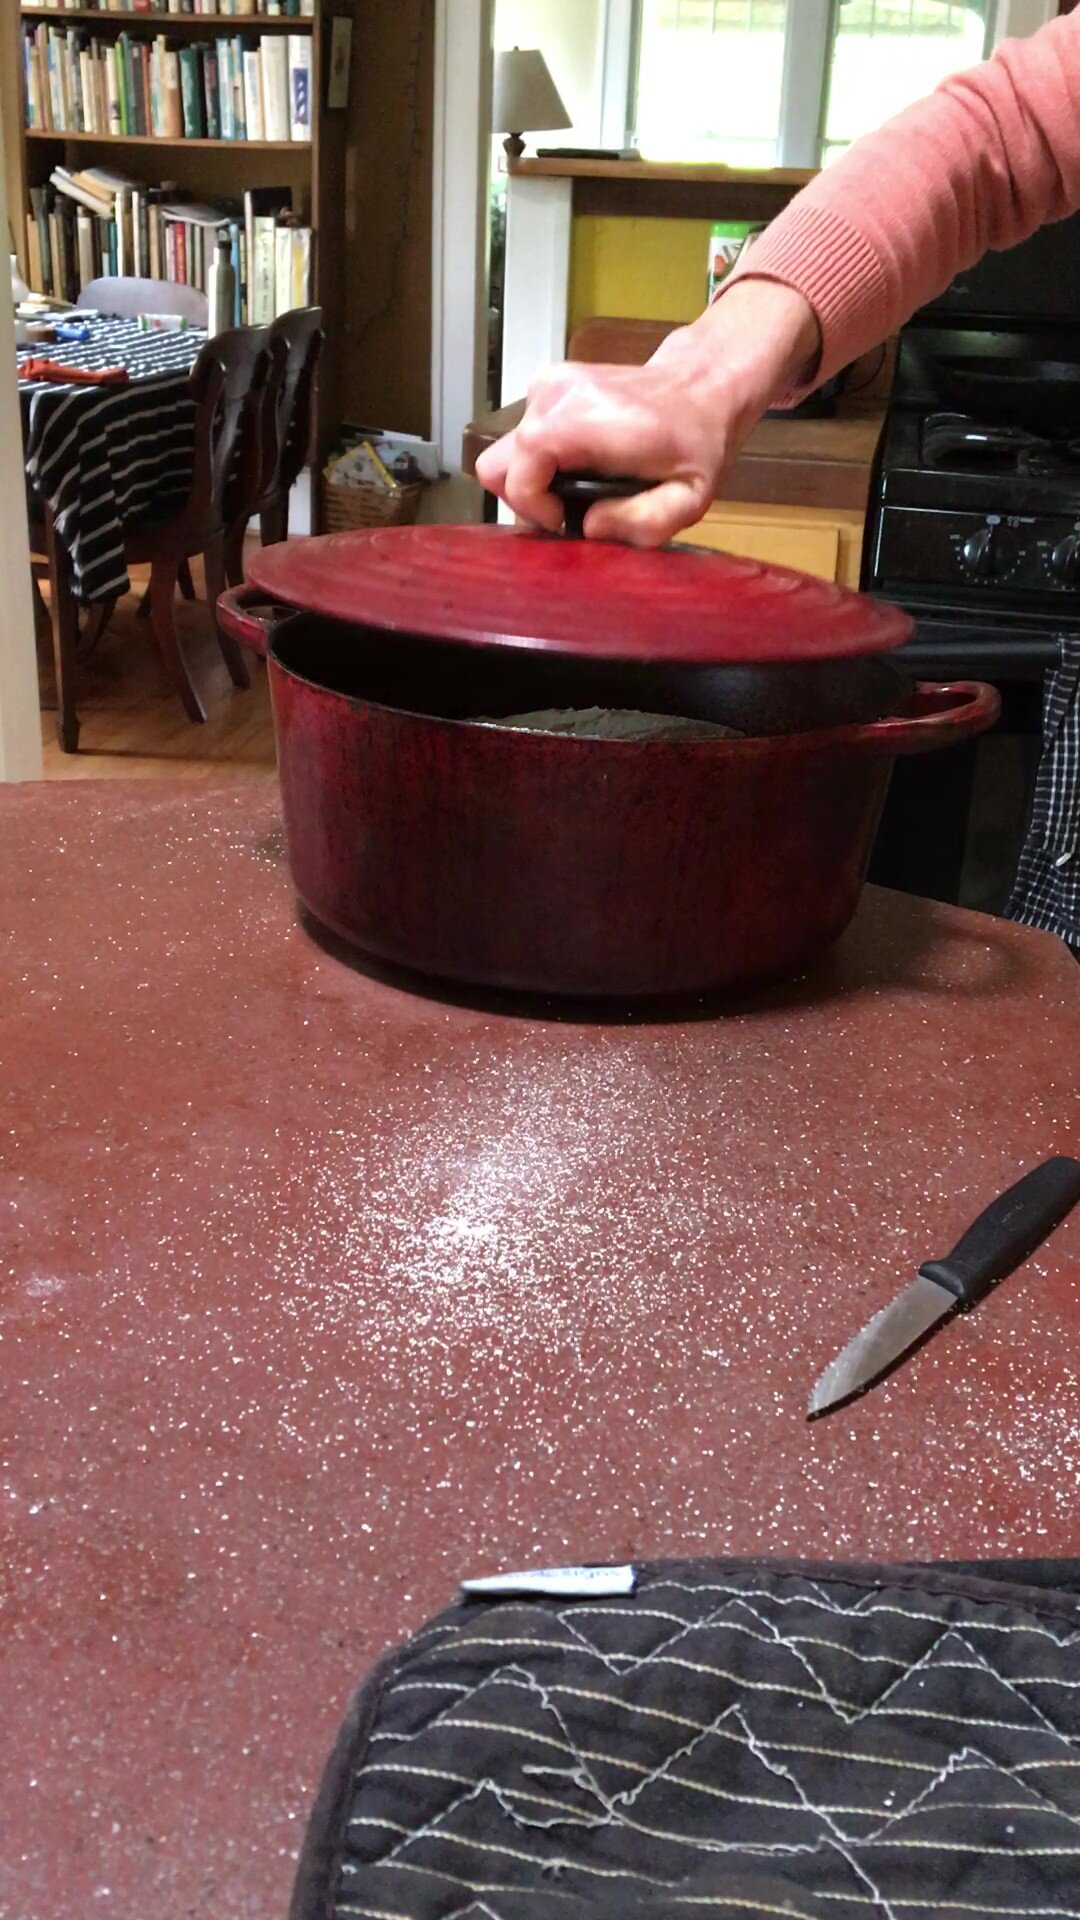
You will need a cast iron dutch oven or some other cast iron container with a lid, but no other special equipment is needed.
Naturally Leavened Whole Wheat Bread
About 24 hours before you want to bake bread:
Make Leaven
2 Tablespoons ripe sourdough starter (MOM) **see the note at the bottom about caring for your MOM
¾ cup flour - any kind will do but I usually use whole wheat
½ cup water

Make the Leaven
Mix together MOM, flour, and water. Allow to sit out on the counter in a container (preferably see-through) until it has ripened and begun to form lots of air bubbles. This will take anywhere from 4-10 hours depending on how active your starter is. You know it is ready if a spoonful floats when put into a bowl of water.
When leaven is “ripe” and ready:
Bread Dough
3 ½ cups water
Ripe leaven from mixture above
4 cups whole wheat flour
3 ½ cups unbleached bread flour
1 Tablespoon salt
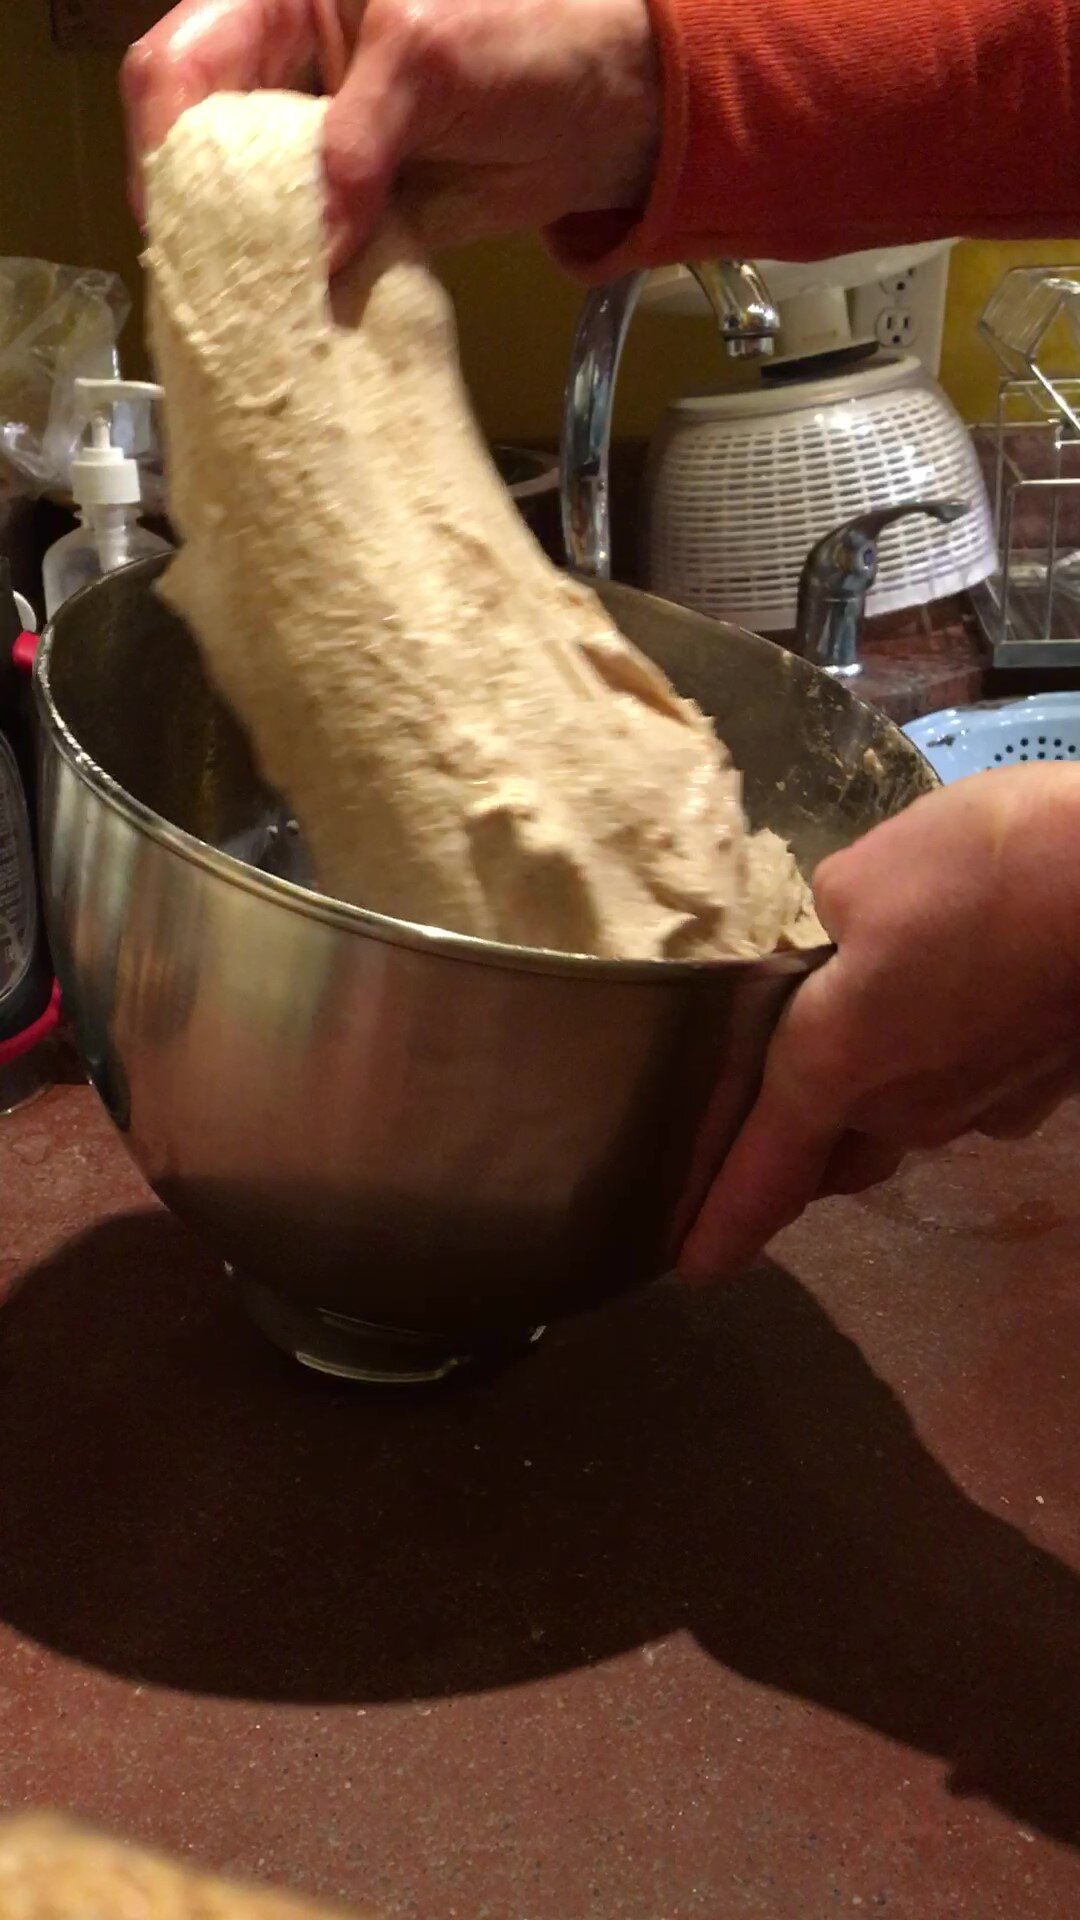
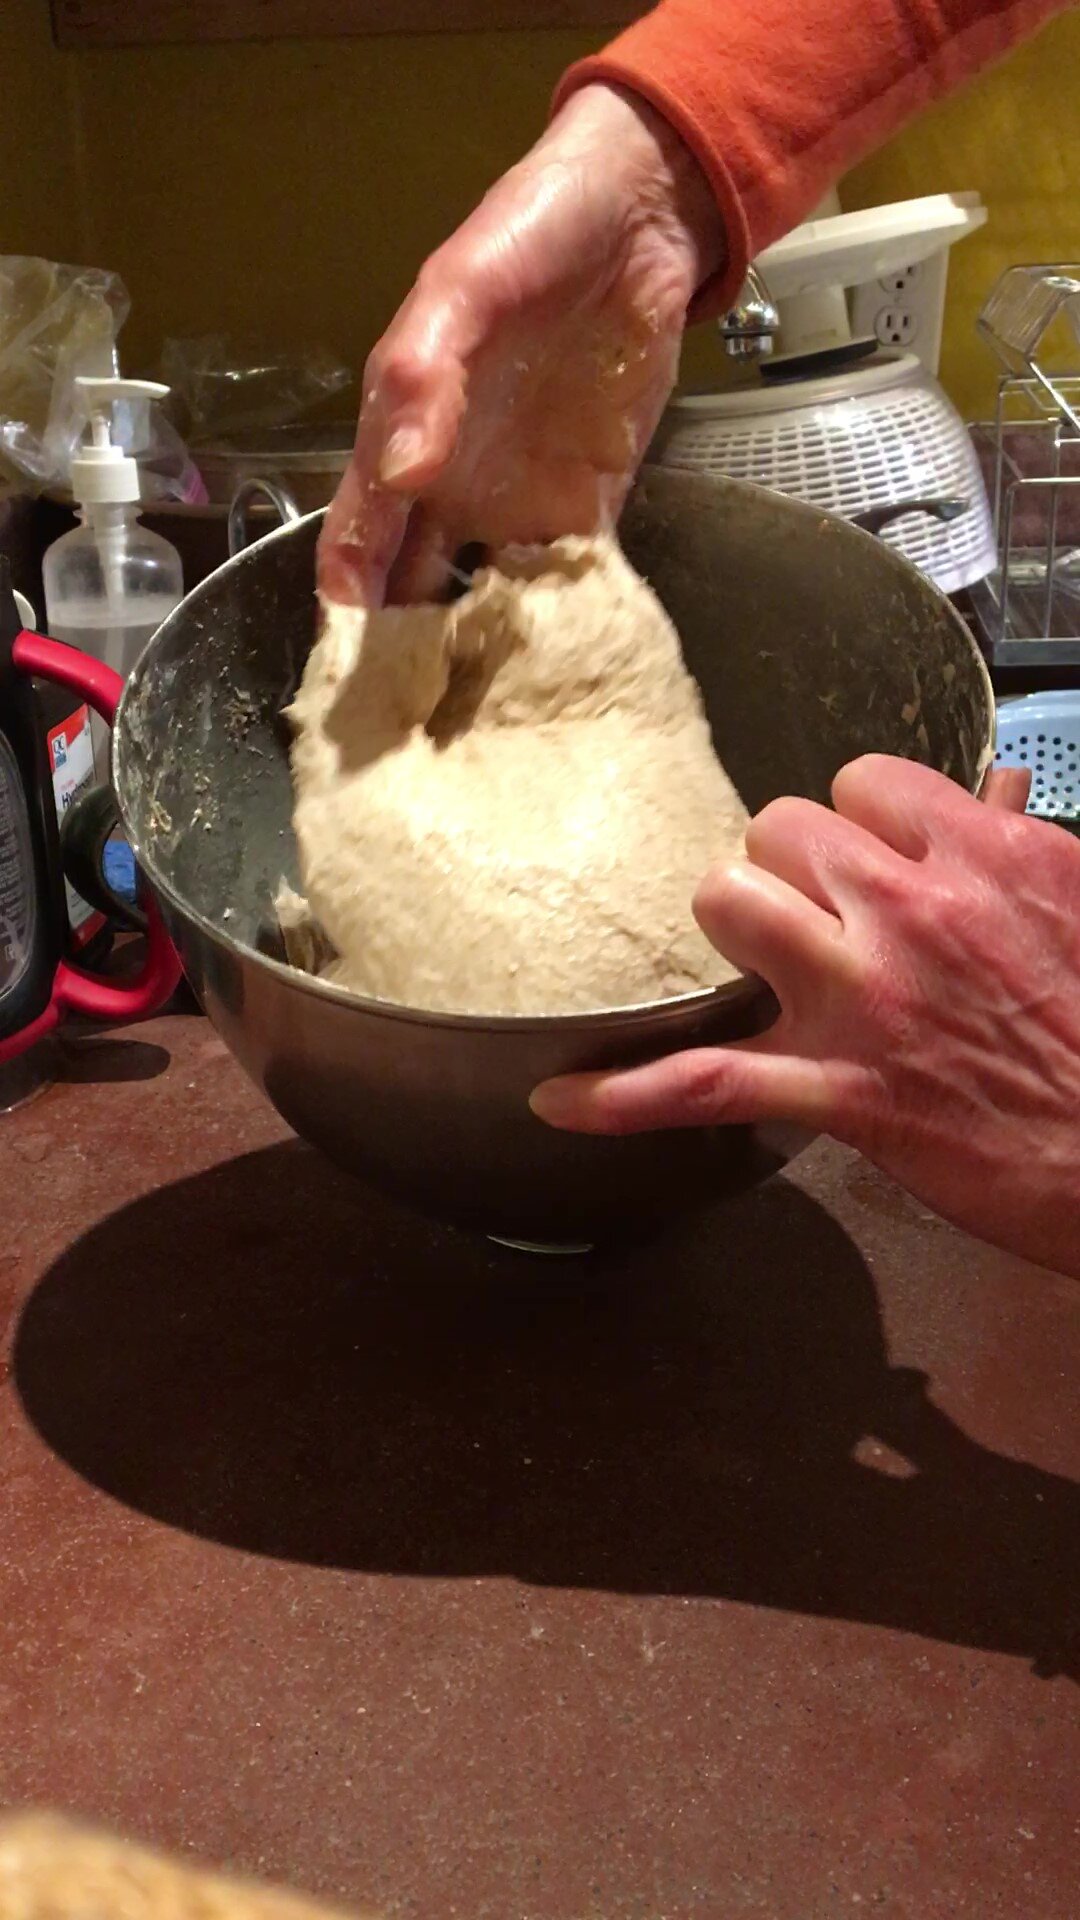
Mix together ingredients until there is no visible flour. Allow dough to sit and rest, covered, for half an hour then stretch and fold the dough. Wet your hands and grasp one side of the dough, pull it up out of the bowl then fold it back on itself. Lift up, stretch and fold dough 4-5 times, then cover the bowl and allow to sit for about an hour. In the next 3-4 hours do the stretch fold thing 3-4 more times.
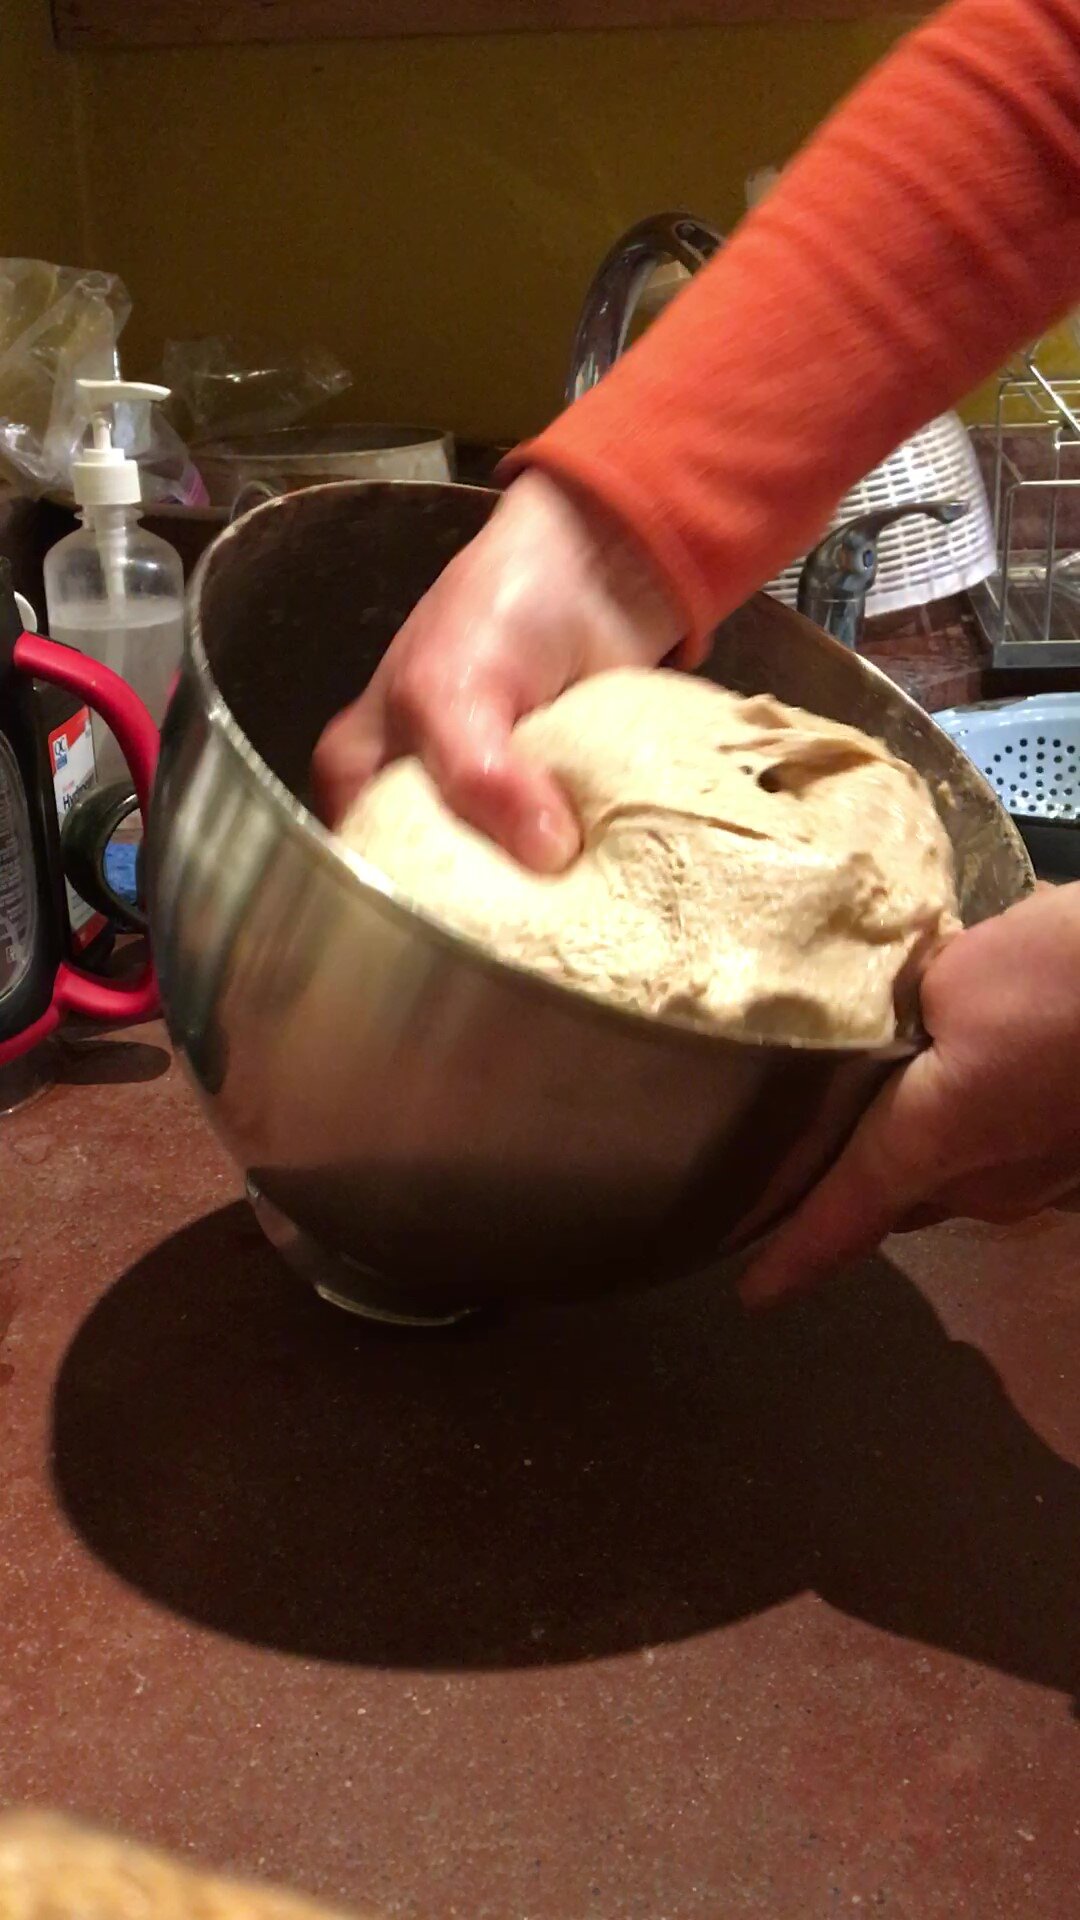
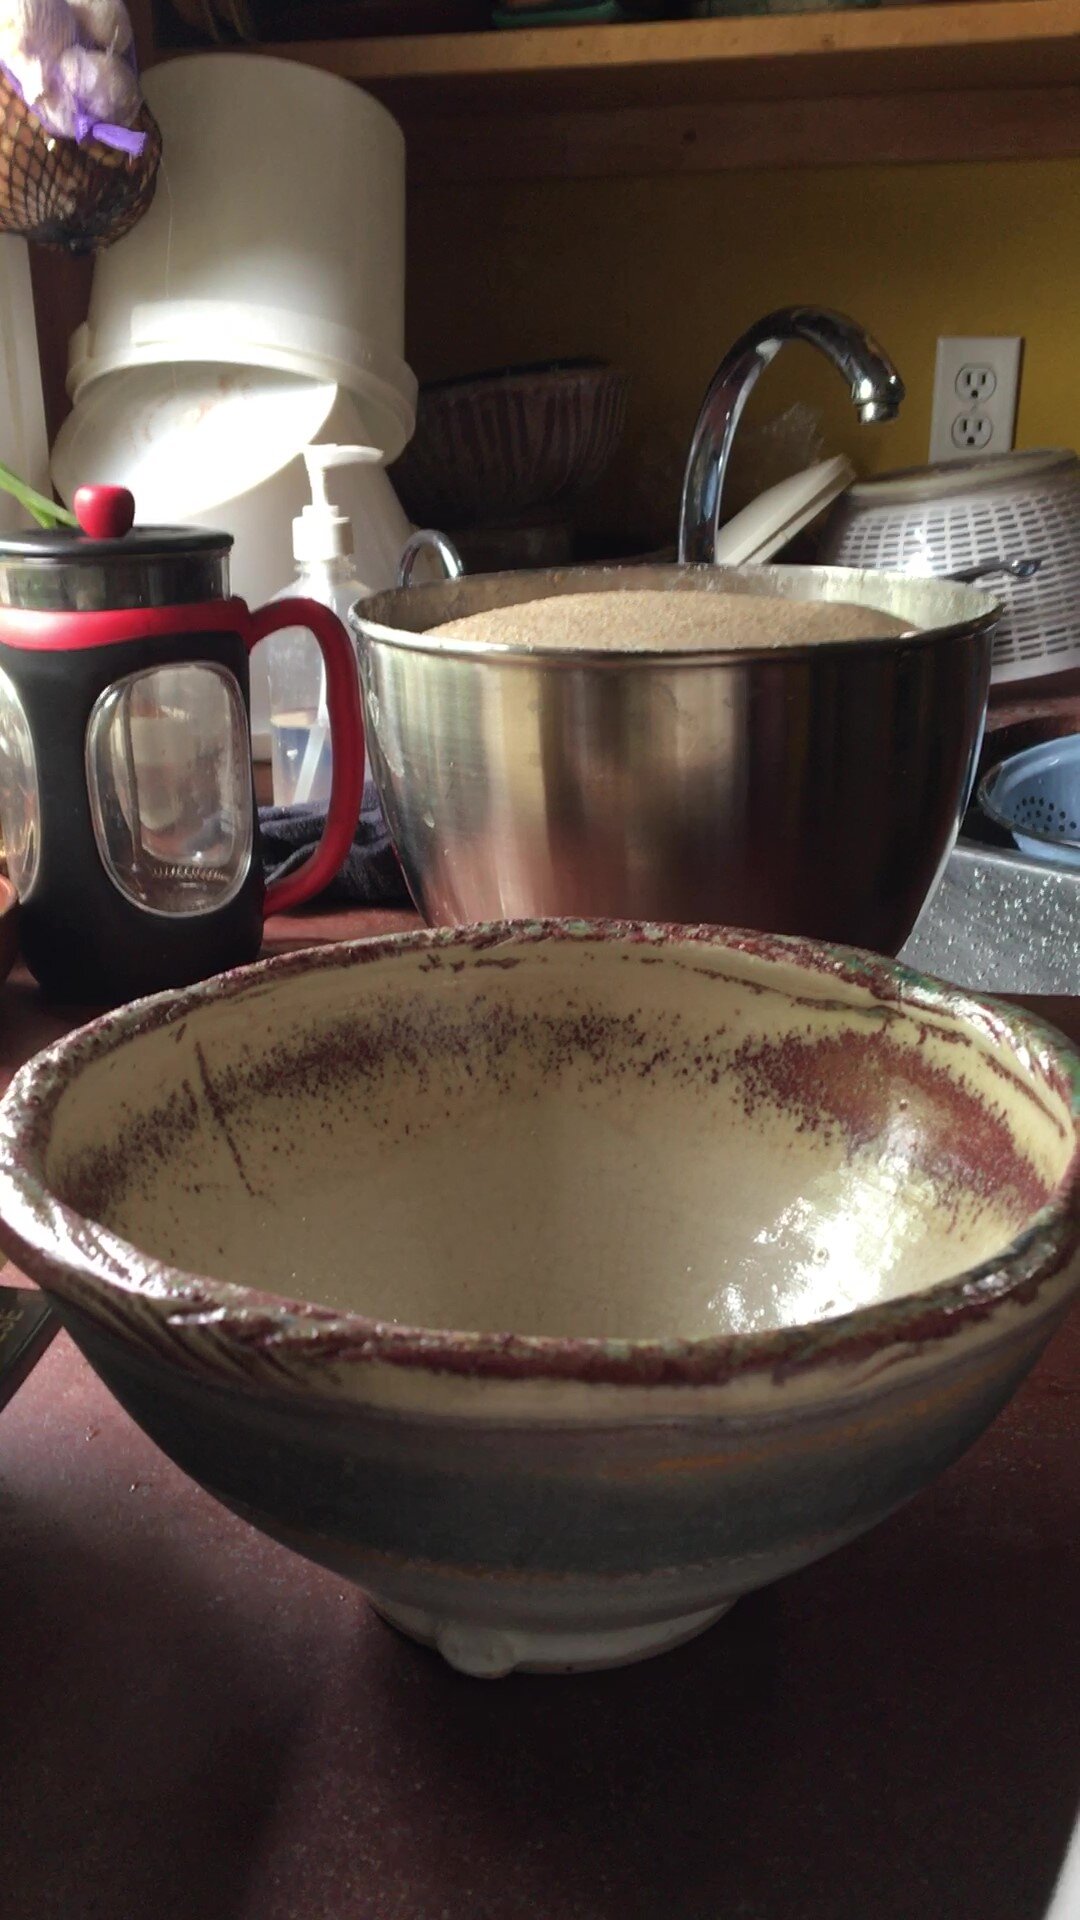
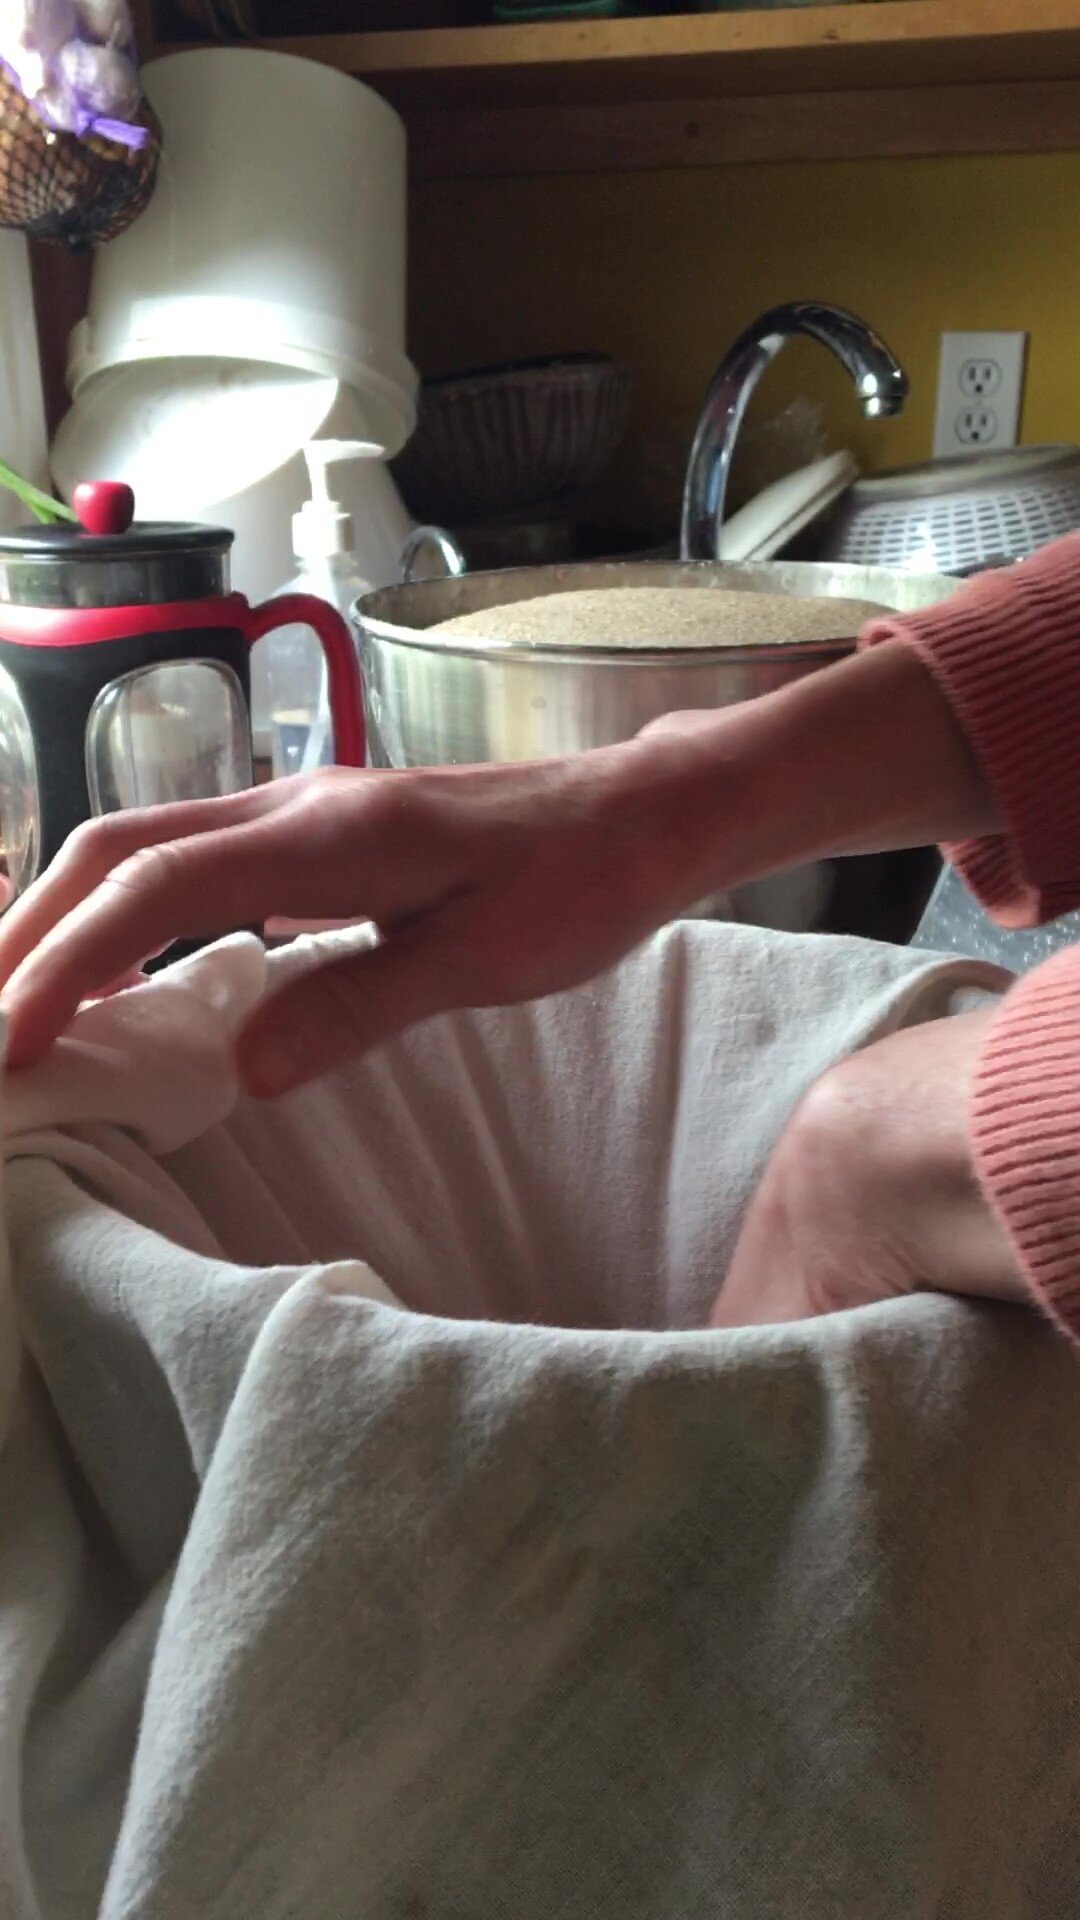
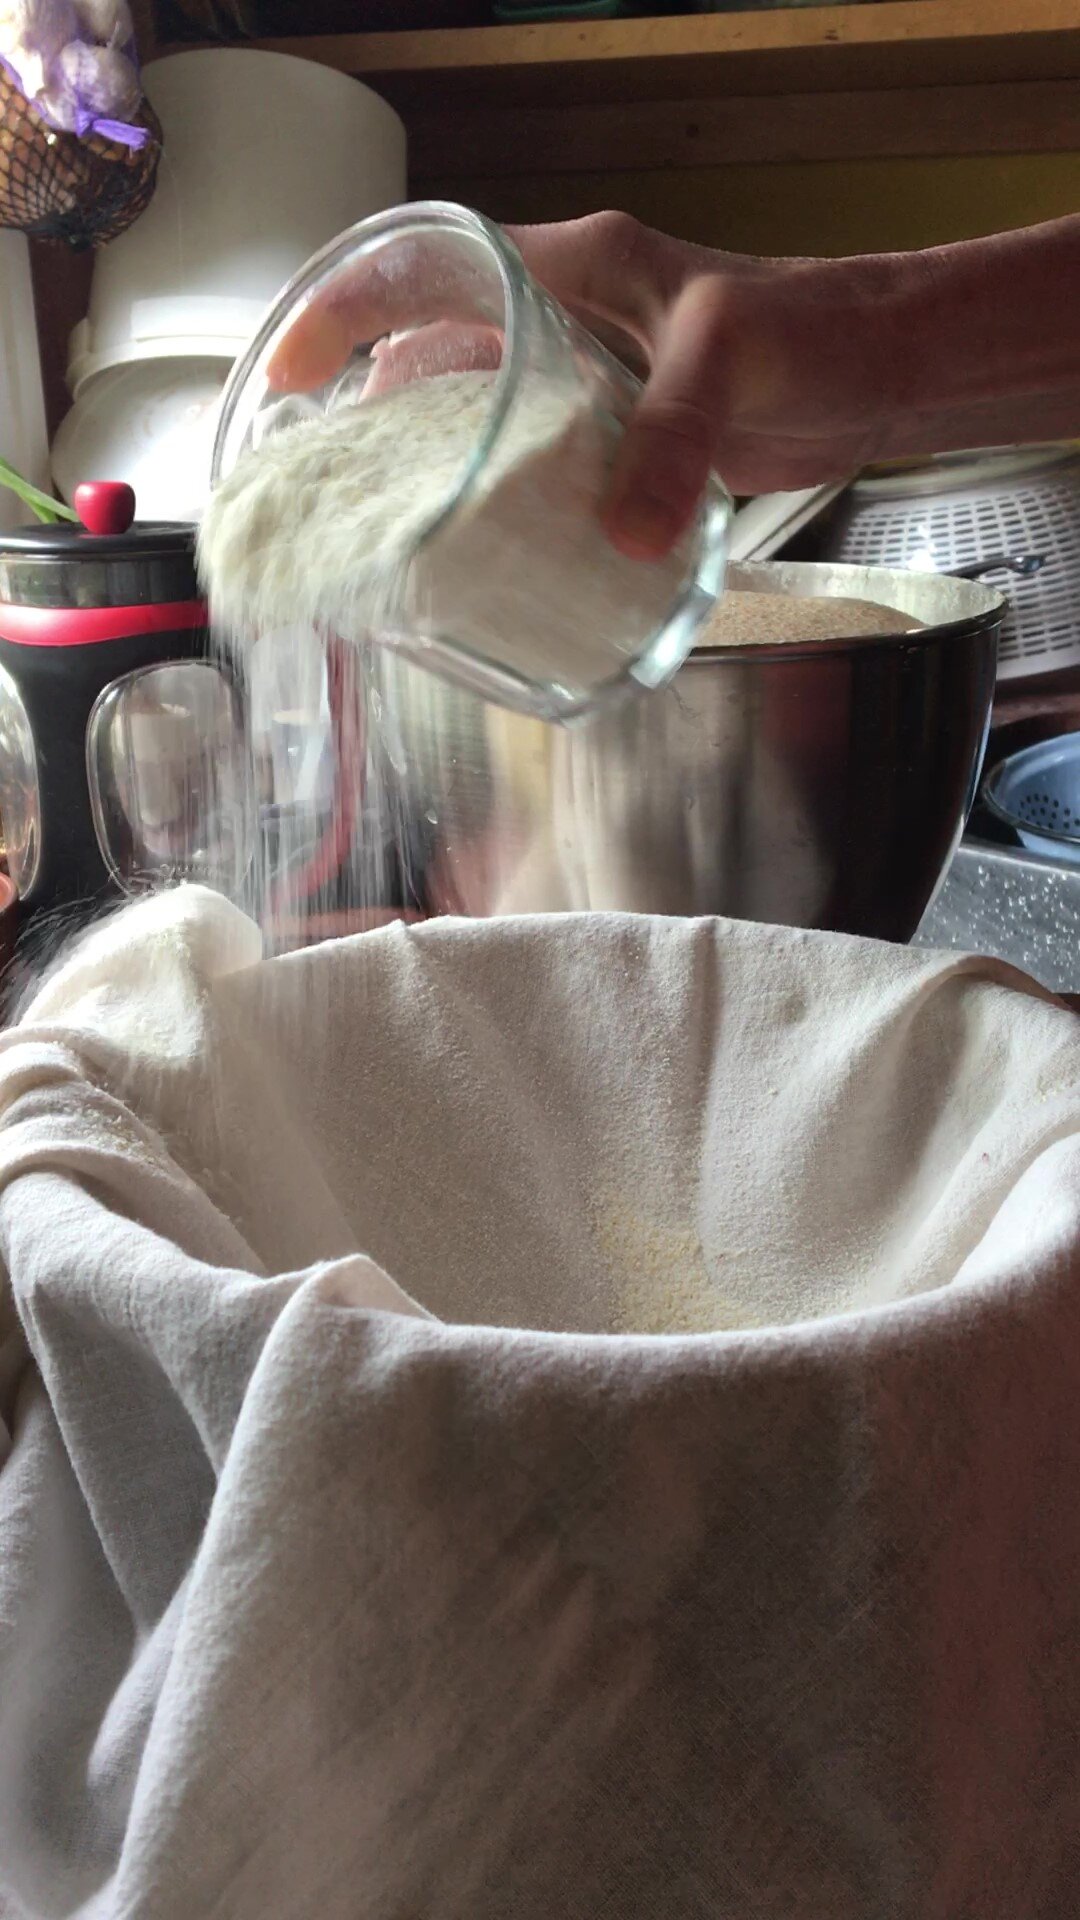
After your dough has been stretched and folded a bunch it will be nice and elastic. Allow dough to rise for 3-5 hours until dough has almost doubled in volume. Prepare a large bowl or basket big enough for your dough to rise at least an inch or two (I’ve used all kinds of containers here - it does not have to be too special!) Line your bowl or basket with a thin cotton or linen dish towel, make sure it is large enough to go all the way to the bottom of the bowl with corners overlapping the sides. Sprinkle it thoroughly with cornmeal.
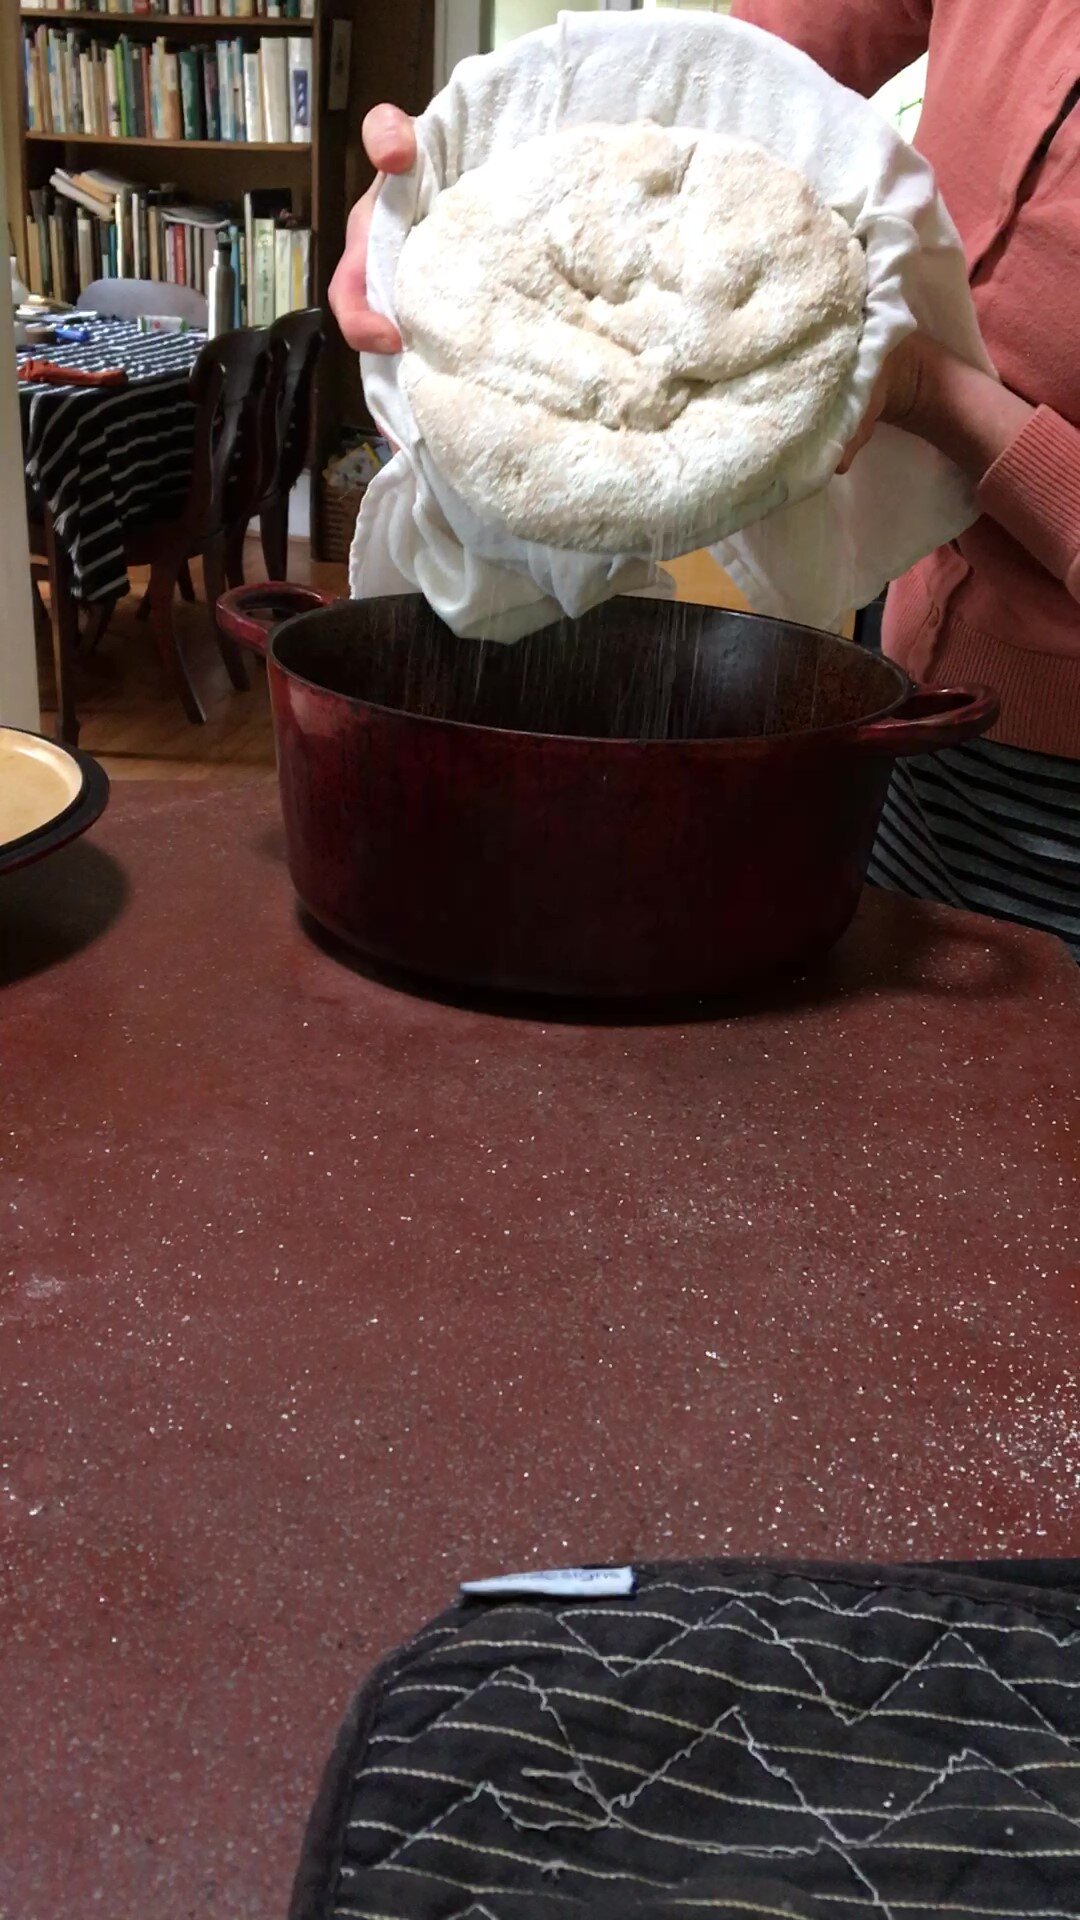
Prepare a bowl of water to dip your hands into. With wet hands grasp dough and pull it out of the bowl slowly - try not to tear it. If the dough is sticky dip your hands in the water so it won’t stick to you. Fold the dough up under itself until you are holding a ball with a fairly smooth top.
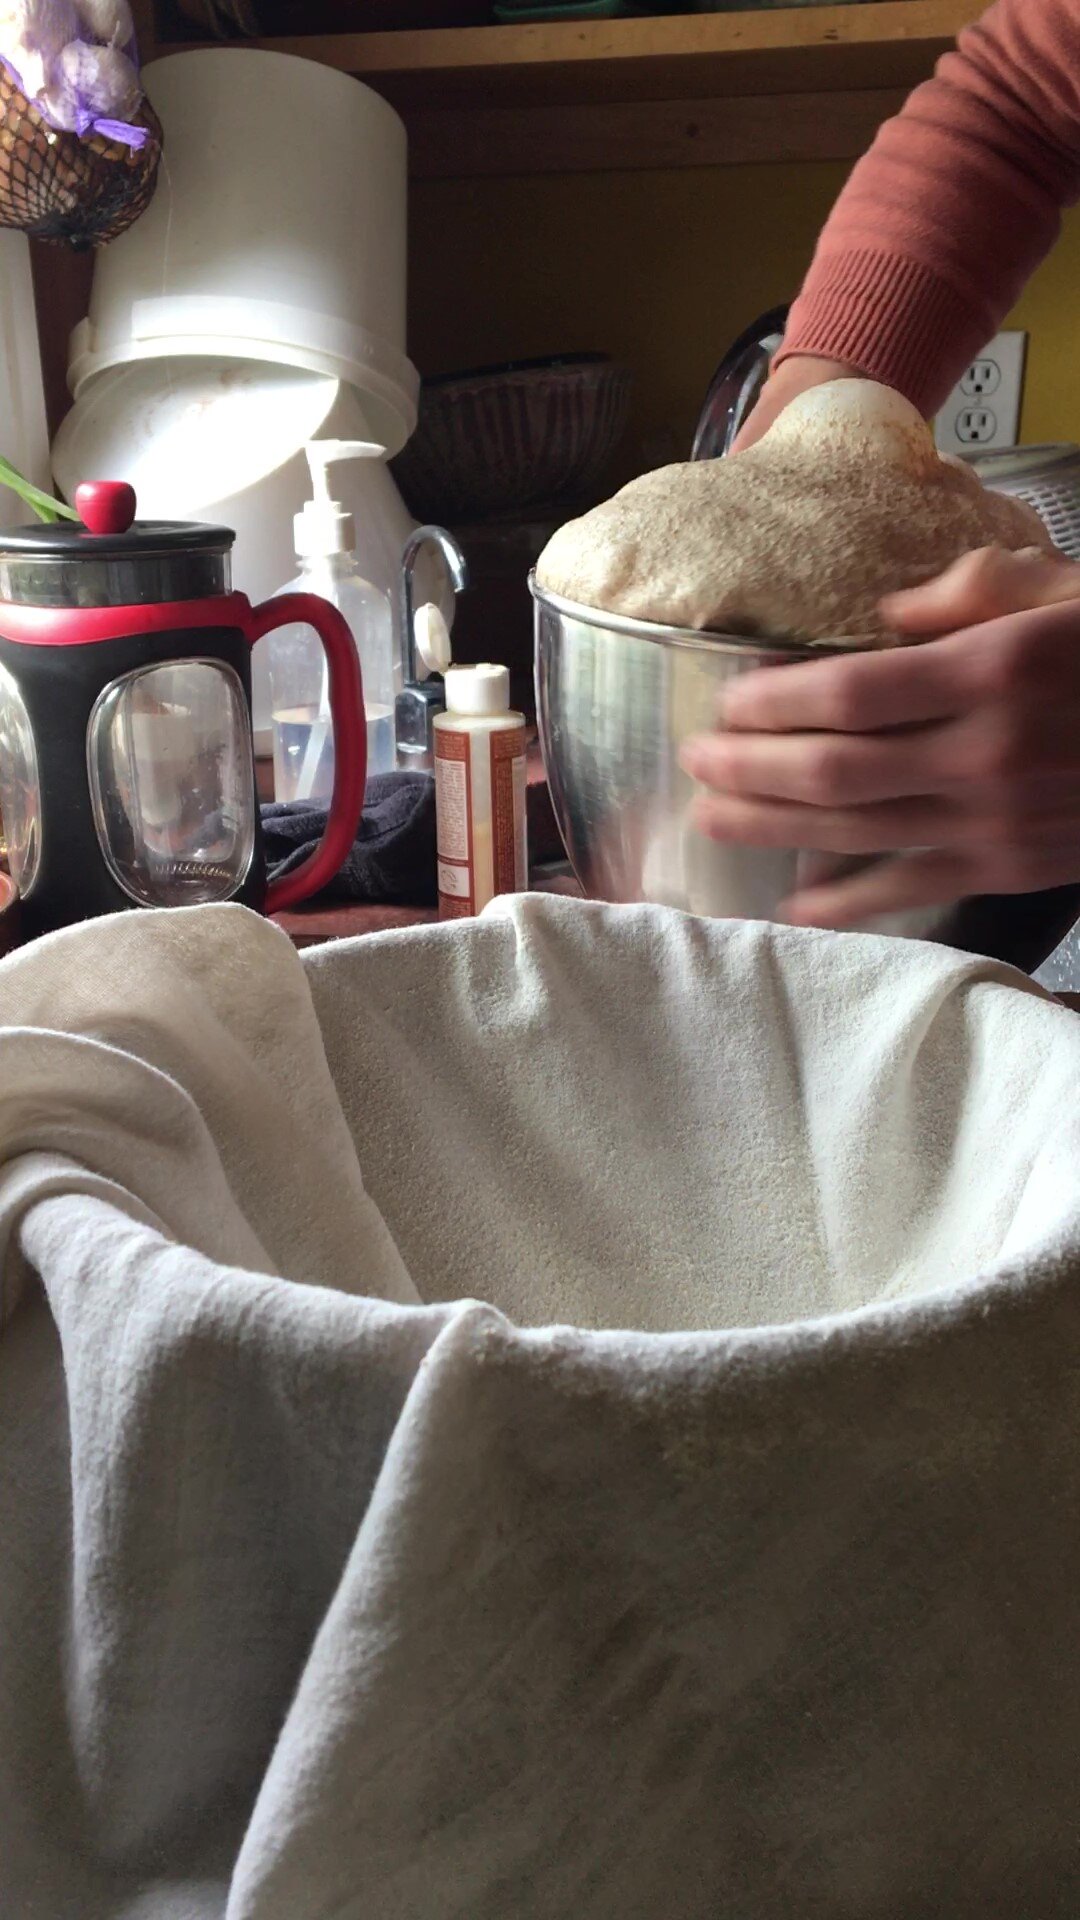


Put dough upside down in the bowl so that all the seams are facing up and the smooth part is on the bottom. Sprinkle the top of the dough with cornmeal and cover the dough with the corners of the towel.

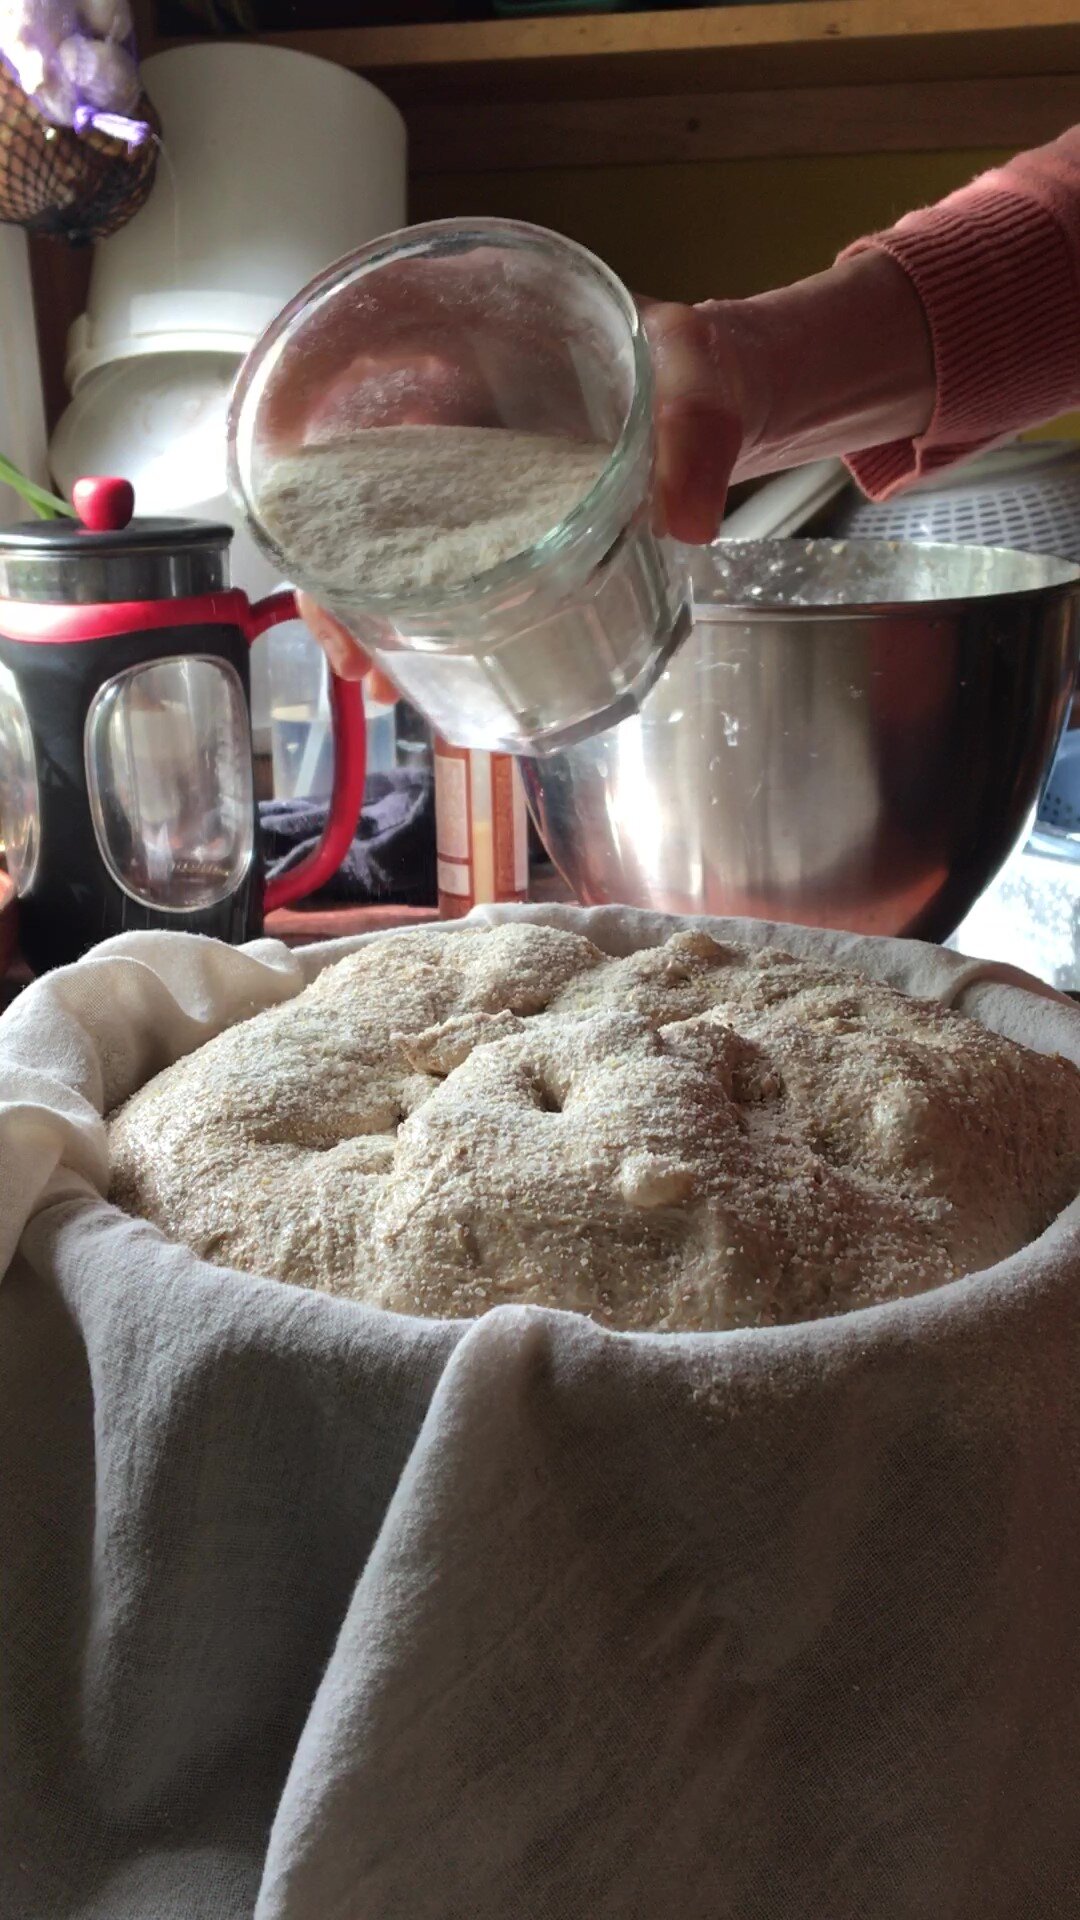
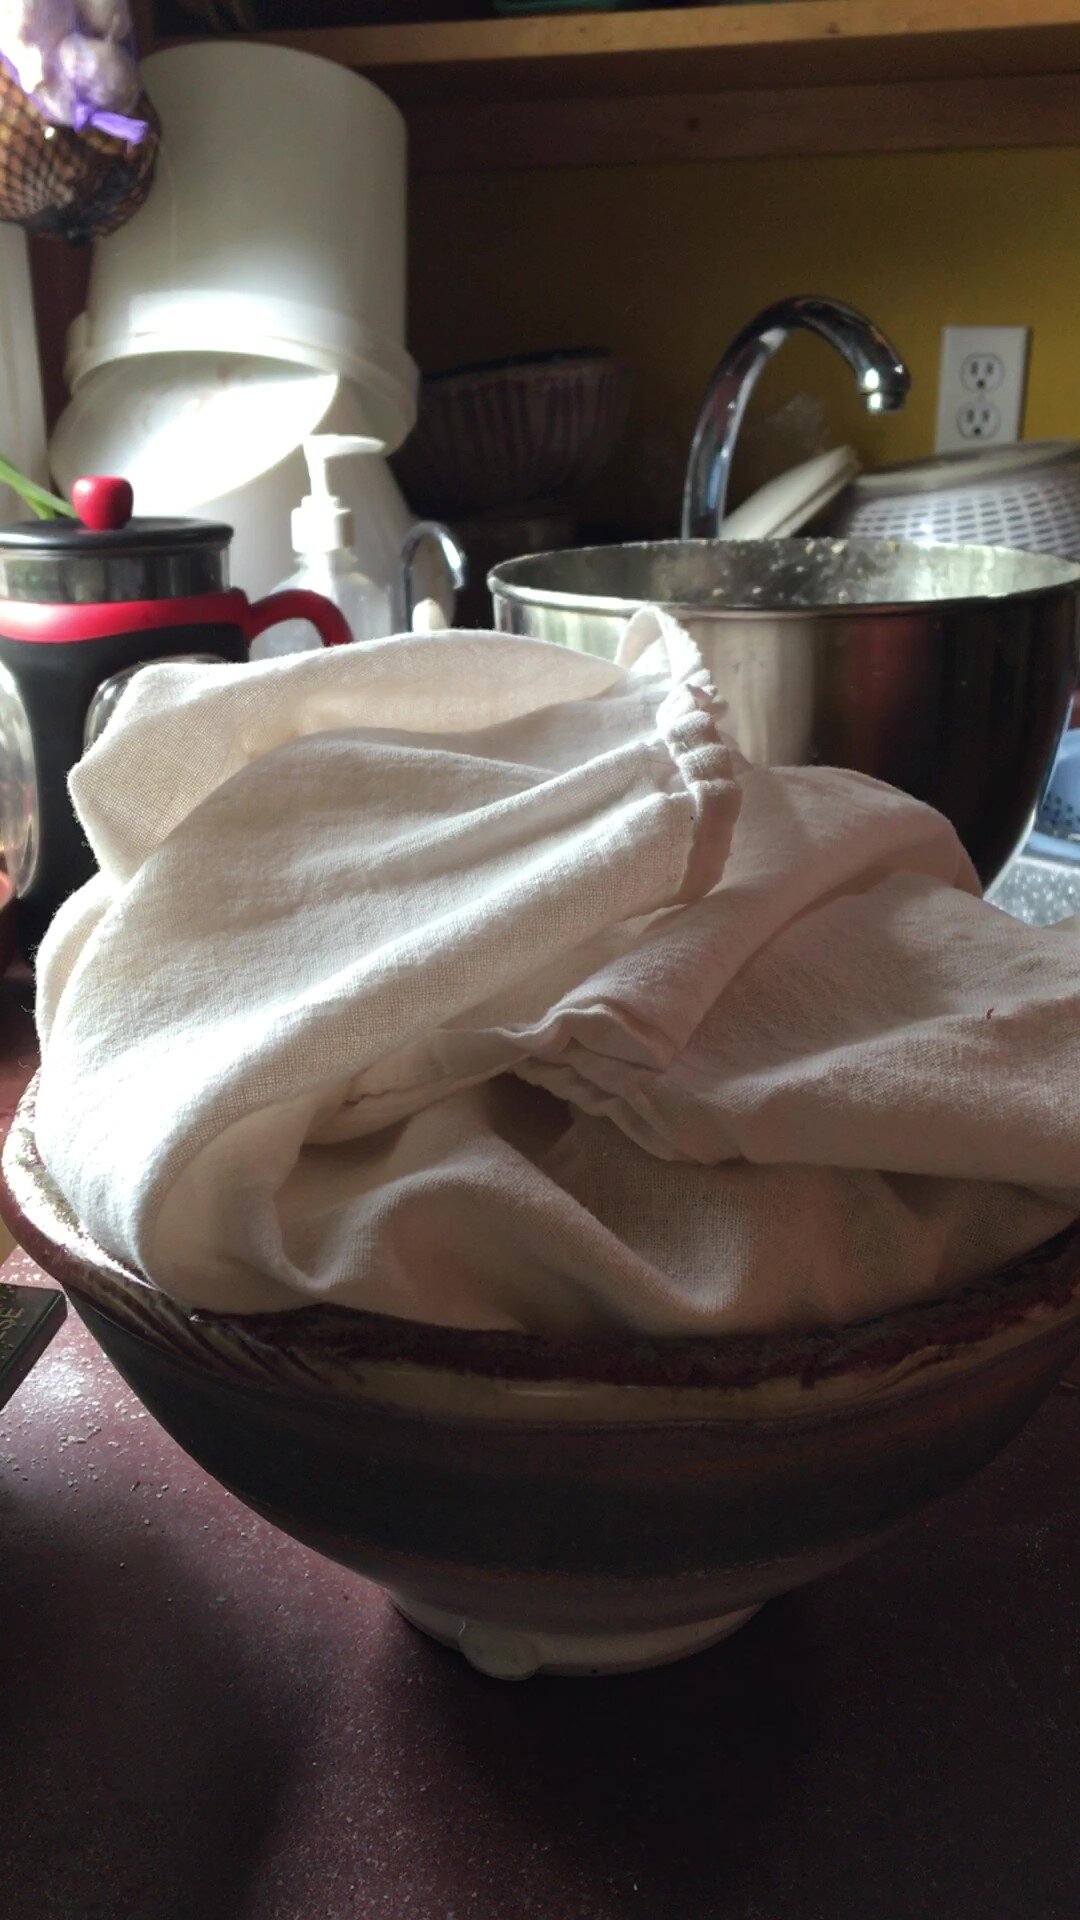
Allow to rise in this bowl/basket for 1-3 hours depending on how active your starter is and how warm it is. On a warm day with active starter (meaning lots of bubbles) one hour will be enough time, but I’ve let it go for 3-4 hours days when my house was cold and my starter was acting lethargic. One hour before you are planning to bake put your cast iron dutch oven (make sure it is fully oven-proof!) into the oven and preheat your oven to 450 degrees.
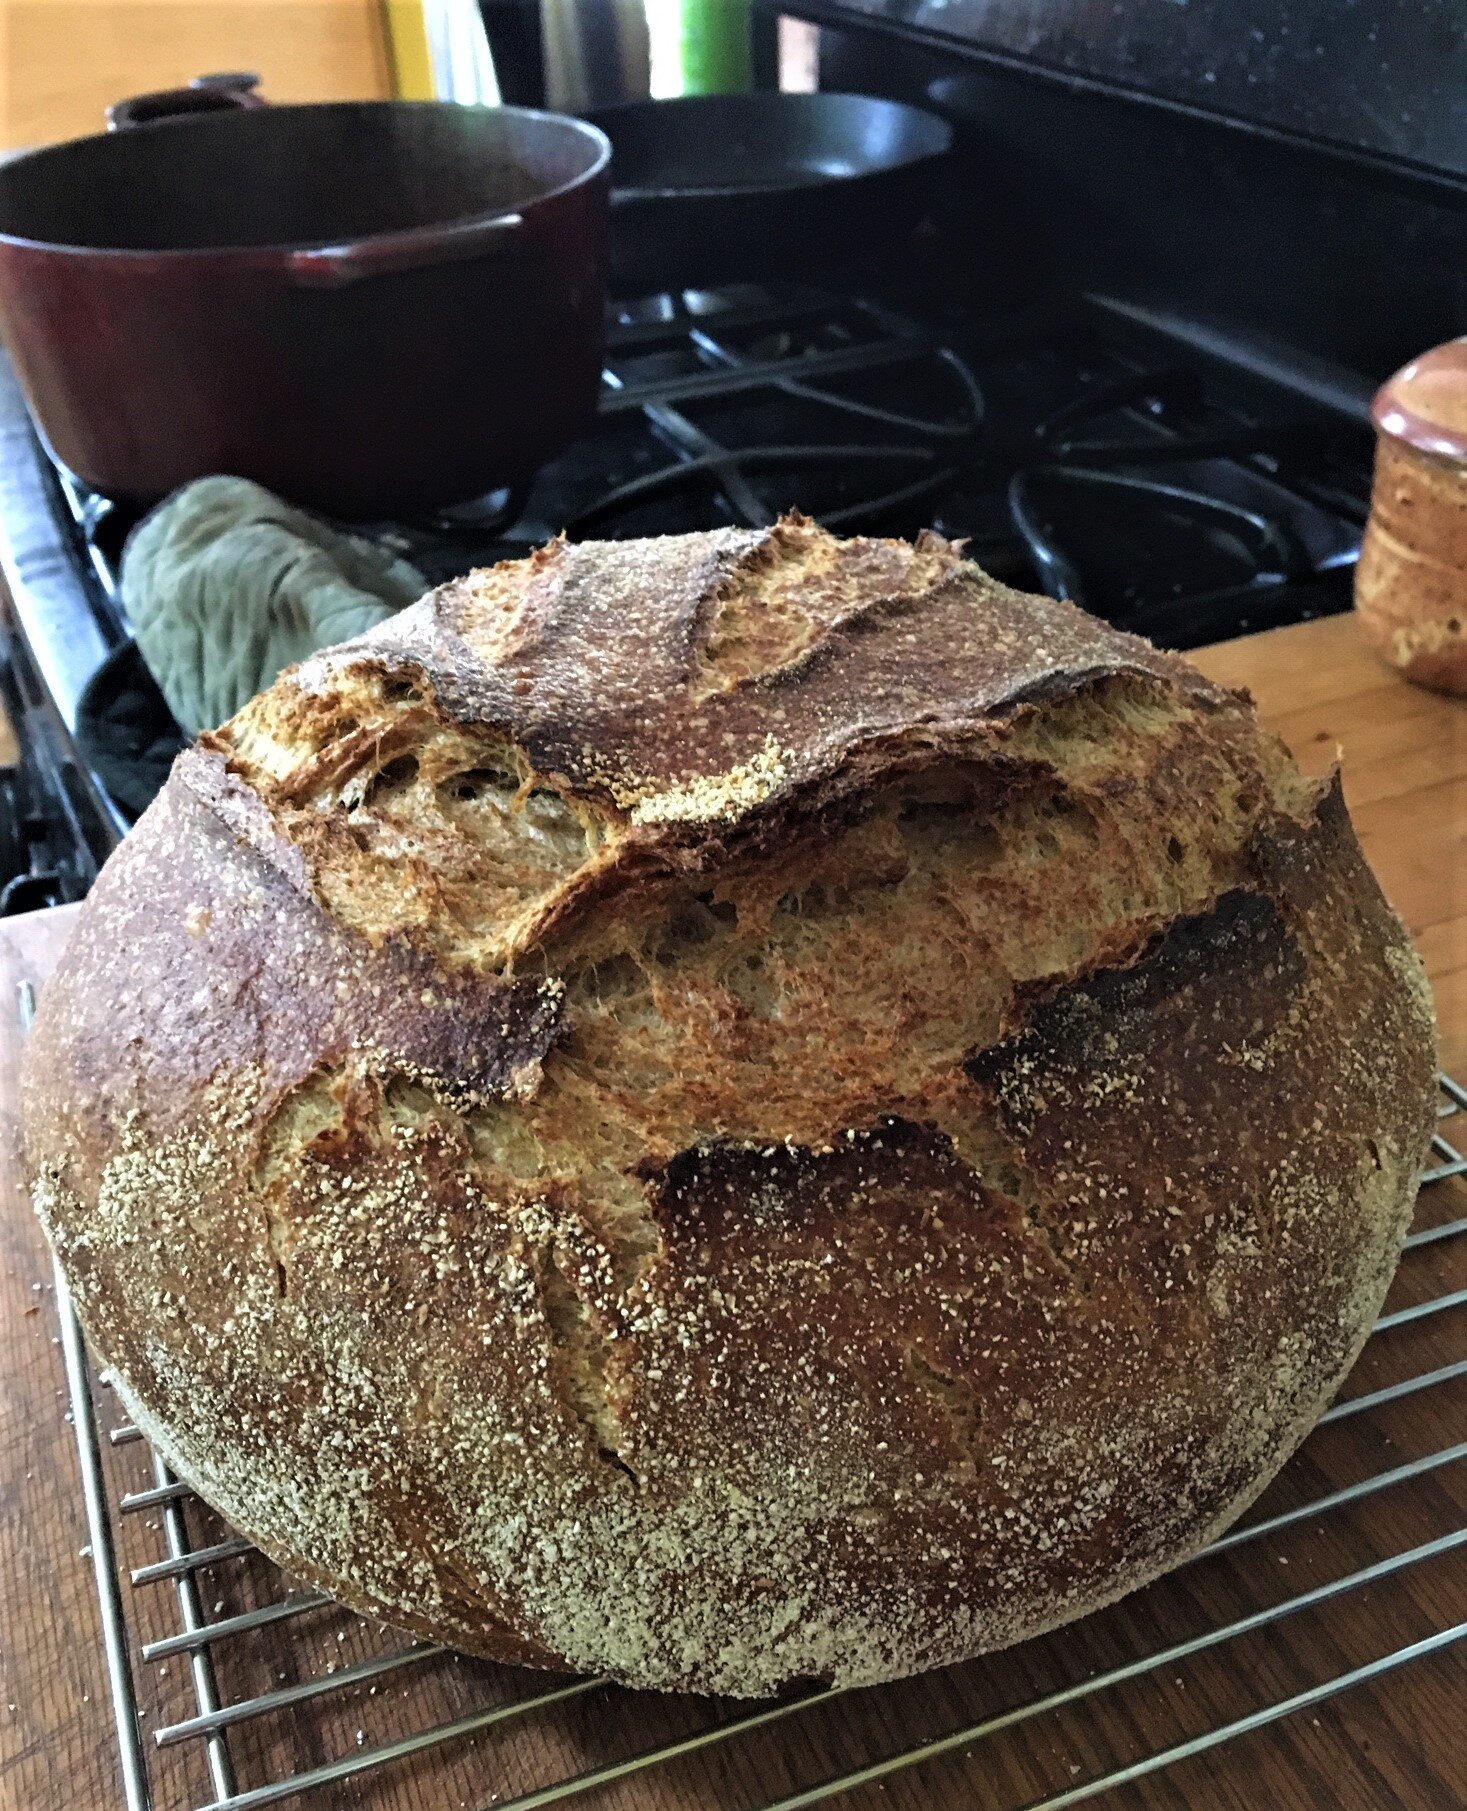
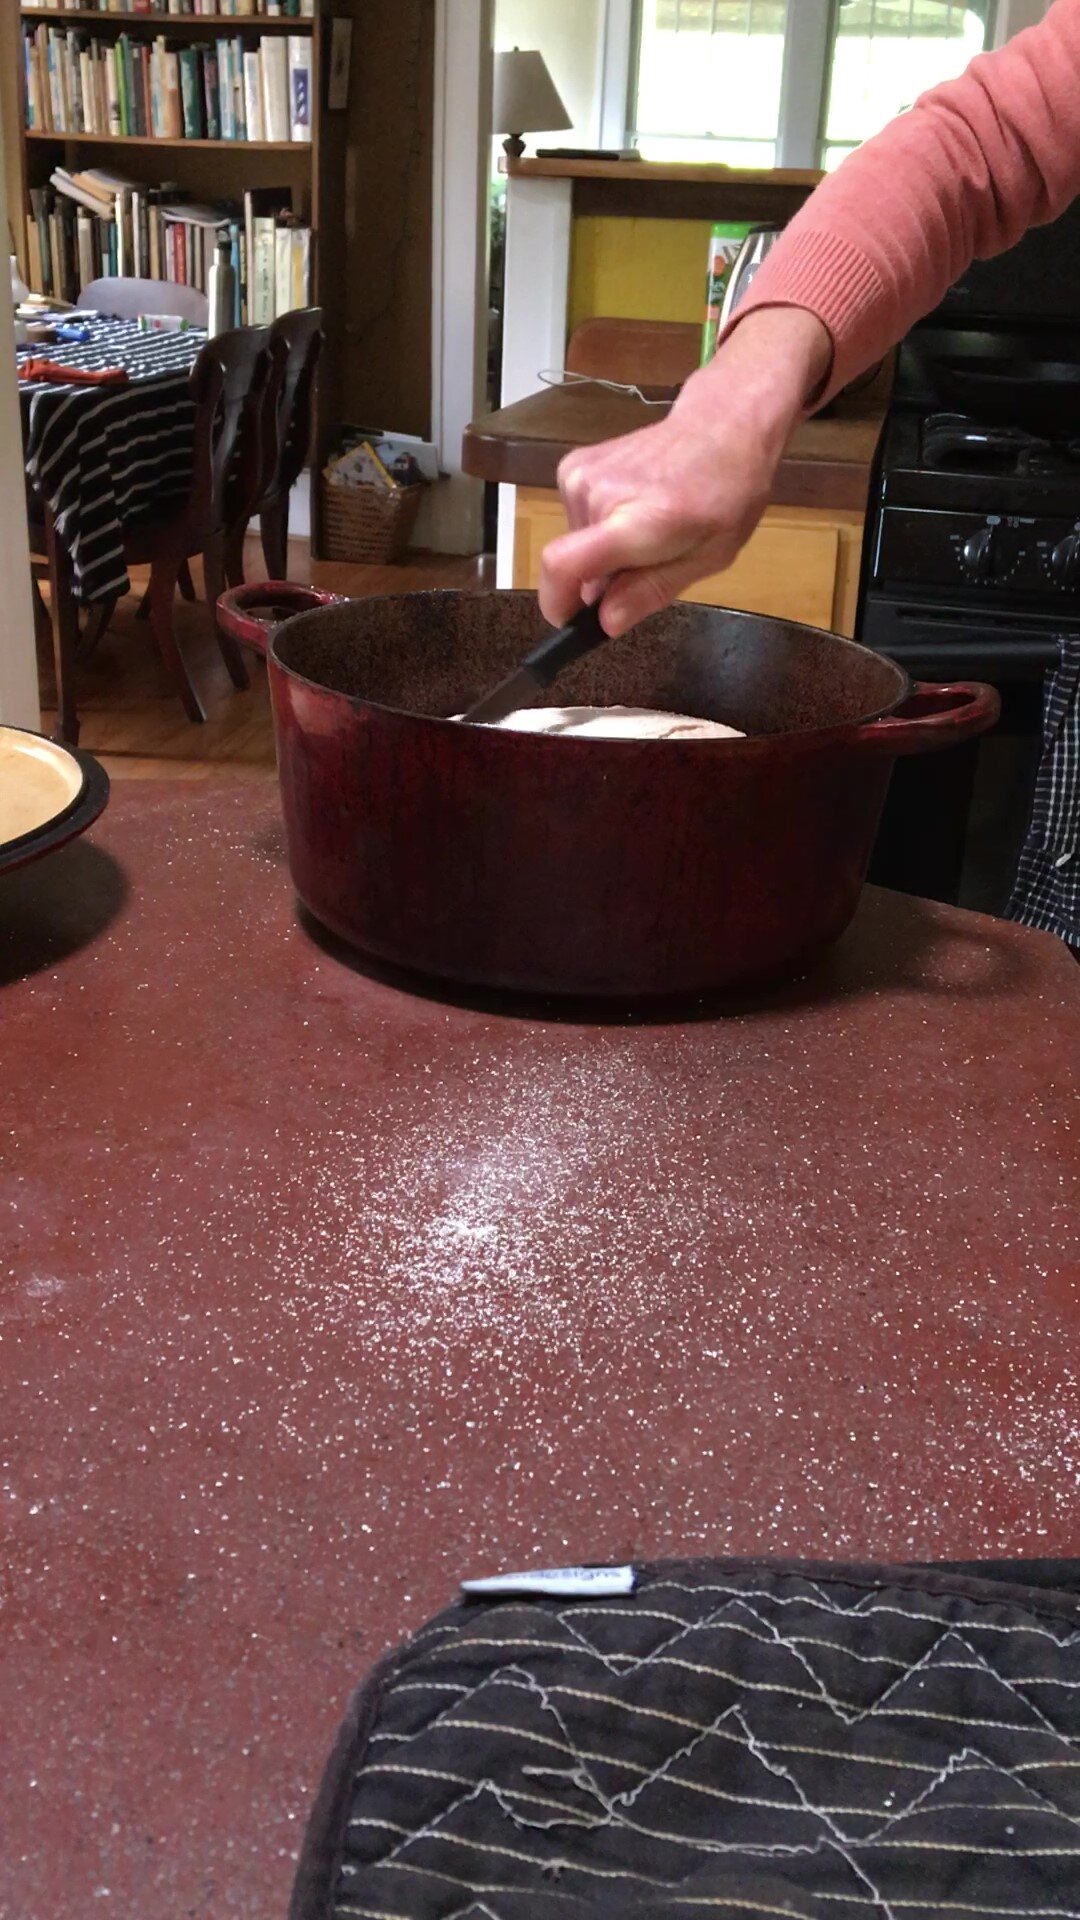
When you are ready to bake, carefully pull the dutch oven out and put it on a heatproof surface. Turn your dough into the hot dutch oven, score the top of your loaf with a sharp knife or razor blade, and cover with the lid. Put the pot into your preheated oven and bake for 30 minutes.
Remove the pot from the oven and take off the lid after after the first 30 minutes of baking. Reduce the temperature to 400 degrees and bake for another 25-30 minutes until loaf has a good crust and is nicely browned.
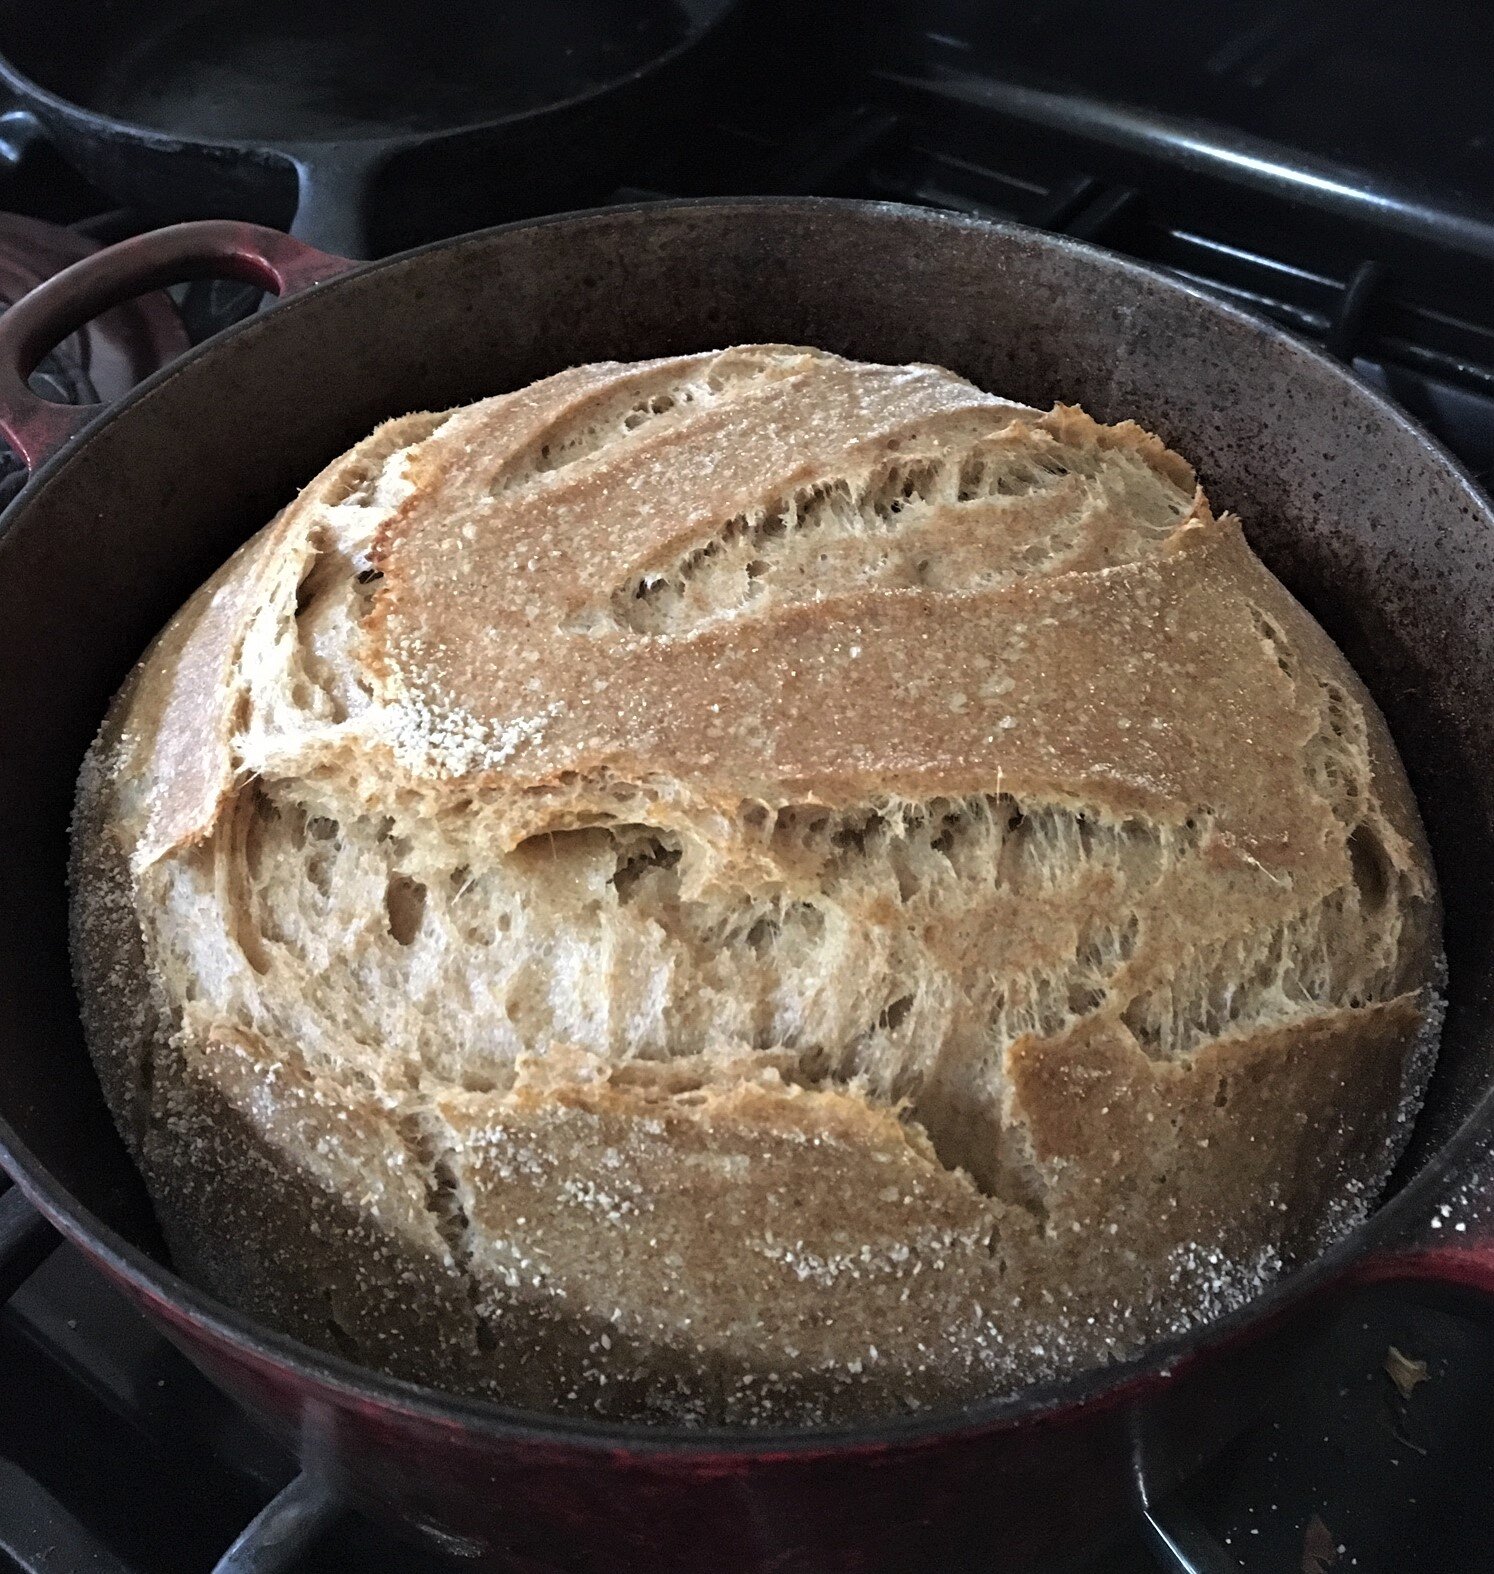

Remove your pot from the oven and using a spatula carefully remove your loaf from the dutch oven. Cool on a wire rack for about 30 minutes before cutting.


Caring for MOM
You can keep your sourdough starter or MOM in the fridge when you are not using it. Some recipes recommend you discard a huge portion of your MOM once a week and refresh it with more flour and water. I think this is pretty disrespectful, so I figured out a way to keep my MOM fresh without wasting it’s preciousness.
How to Keep MoM Well Fed
When I pull MOM out of the fridge to make my weekly loaf I measure out 2 Tablespoons for my Leaven and put it into a see-through container. Then, I mix about 2 Tablespoons of flour and 1-2 Tablespoons of water into my MOM at the same time I’m mixing up the Leaven. MOM goes back in the fridge while the Leaven stays out on the counter to ripen and become bread. This means I’m refreshing it with just enough flour and water to keep a stable amount but I don’t ever have much too much. If I want to share my starter with someone I simply mix in a little extra flour and water that week.
**Note - If you don’t wanna do as much stretching and folding after letting the dough rest for half an hour, you can use a stand mixer and knead with a dough hook for about 10 minutes on low - cover and let rise 3 hours, stretch and fold one time, then proceed with step 2.